From a one-line prompt to a finished battle map
"Create a gothic castle inside a forest" is one sentence. Getting from that sentence to a scene you can drop miniatures on is a short, repeatable process — not a black box, and not a single button that guesses. Here's what actually happens in between.
· 5 min read · TerrainTale
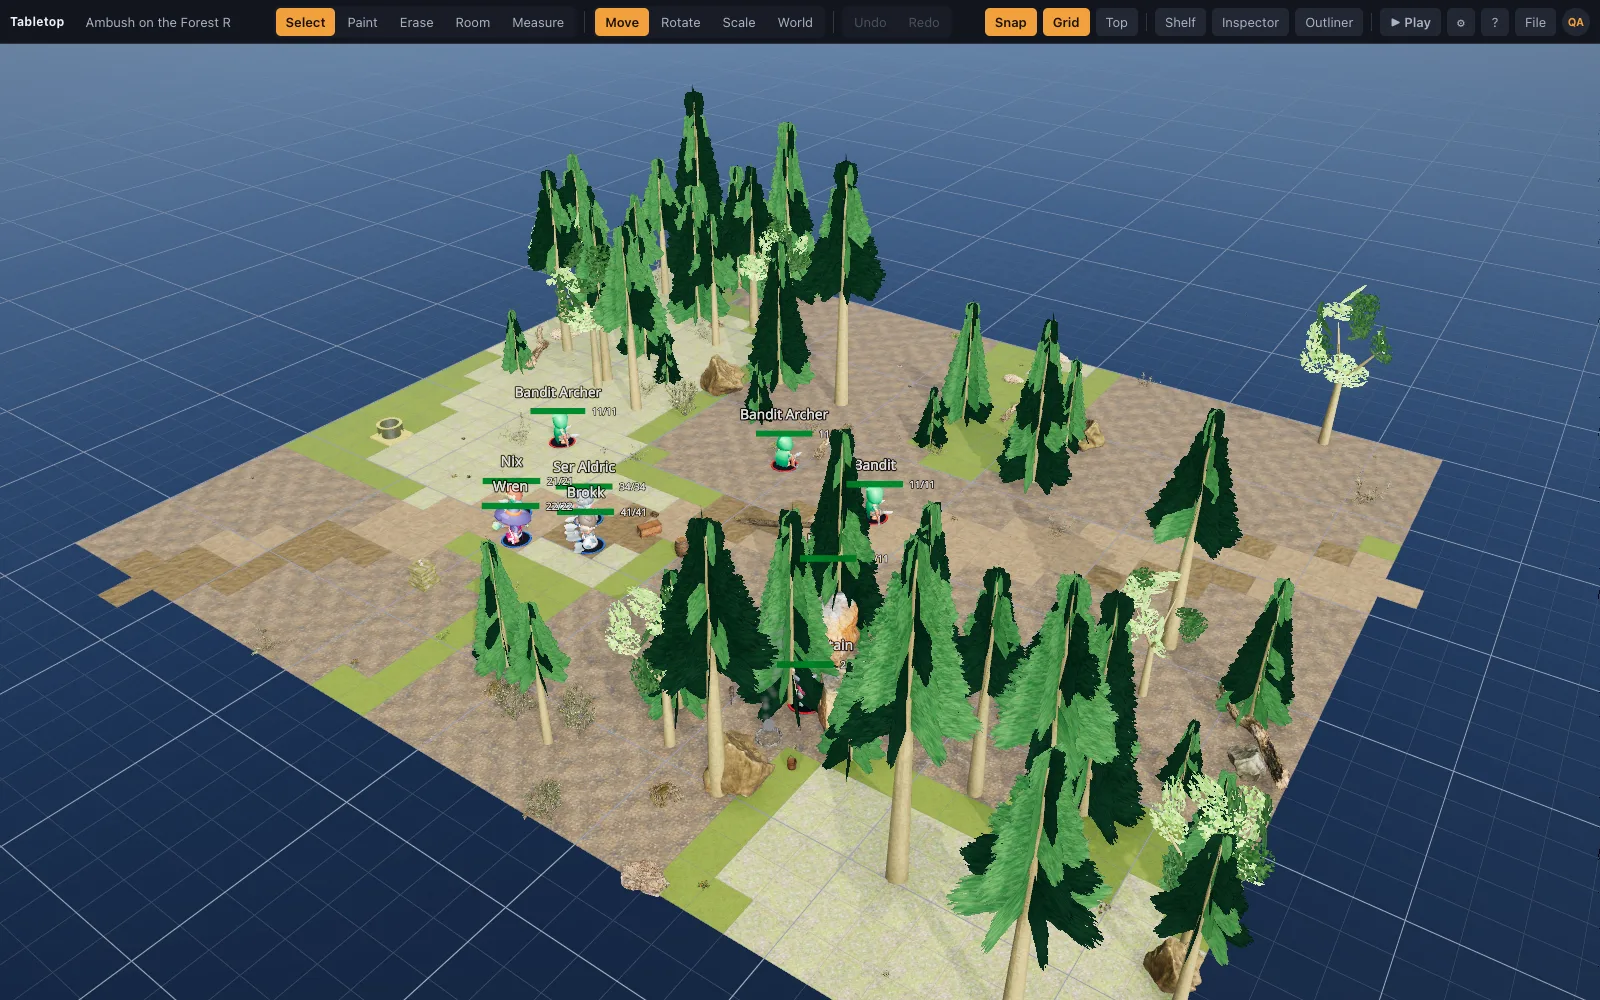
Step one: pick a theme and real assets
The prompt first gets matched to packs and specific model ids from the library's asset index — a gothic castle in a forest pulls stone wall families, gate and tower pieces, and forest floor and tree assets, each referenced by an exact id like `realistic-surfaces/stone_wall`. Every id gets verified against the index before it's used, so a recipe never references a model that doesn't exist in the library.
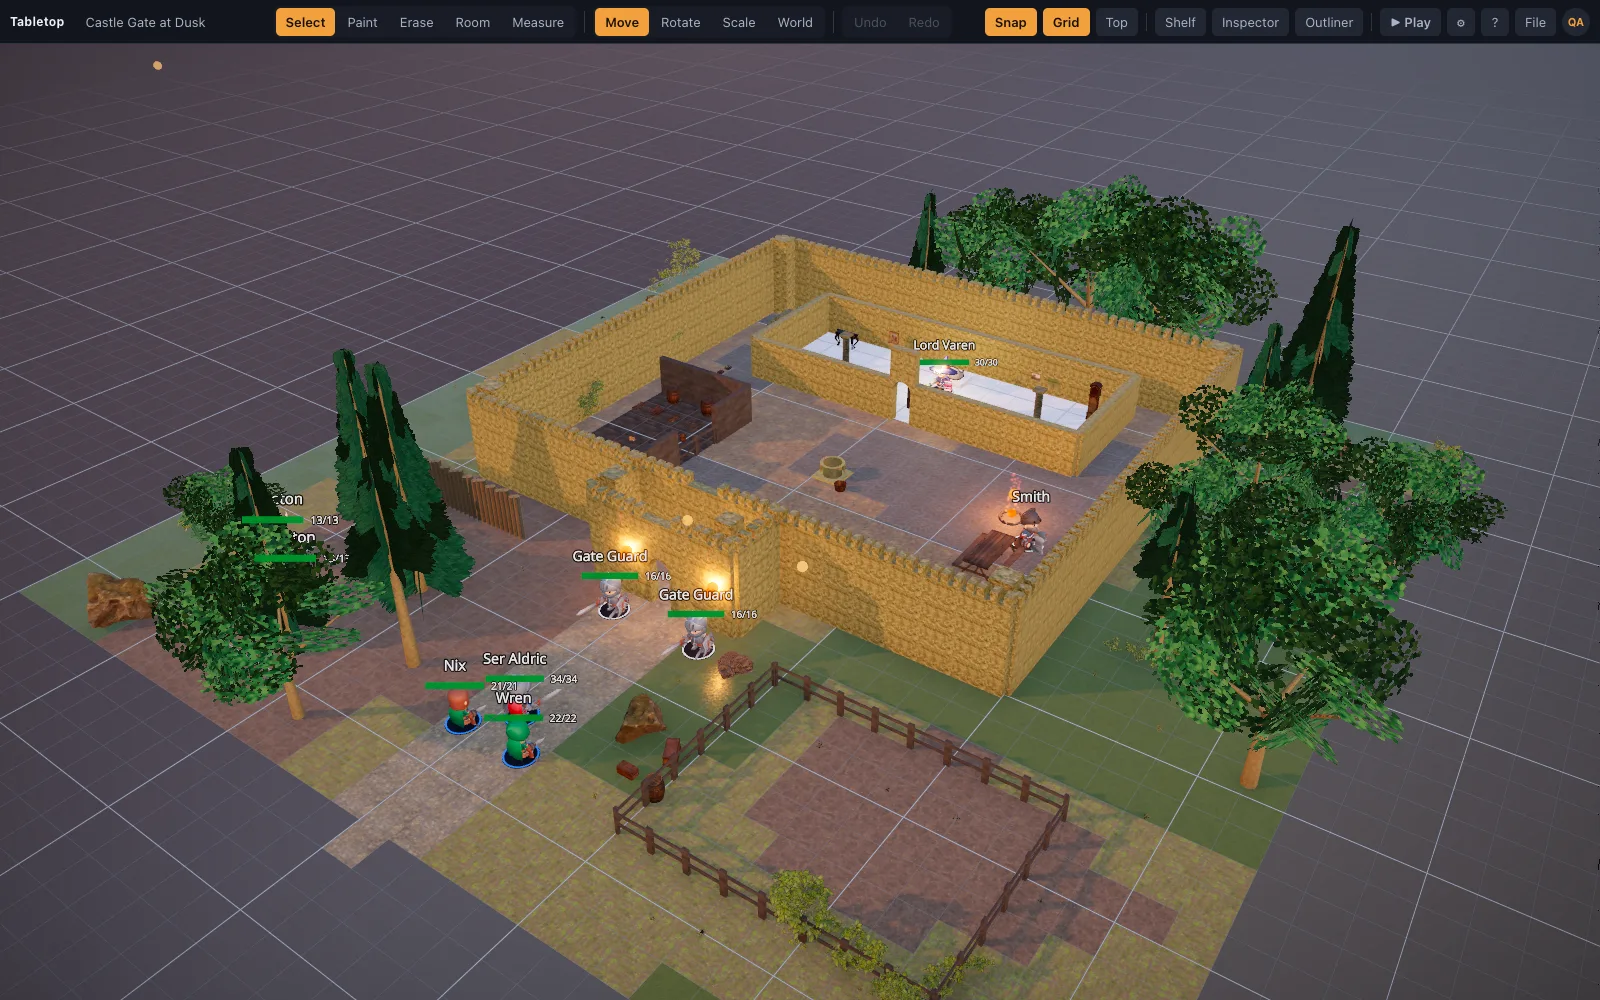
Step two: sketch the layout on the grid
Before any geometry is emitted, the layout gets sketched as cell coordinates — where the forest ends and the castle wall begins, where the gate sits on that perimeter, where a road should arrive at it. This is the composition step: deciding what makes a believable place, not yet how to describe it in JSON.
Step three: emit the recipe
The layout becomes an ordered list of operations — floor tiles for the forest ground and the castle's flagstone, a walls op for the perimeter with a gap where the gate goes, a scatter op for trees kept clear of the building's footprint, prop placements for the gate and any braziers, and a light or two so the scene isn't relying only on the default sun. Each op is intent ("wall this perimeter"), not a list of individual transforms.
- floor — ground and interior surfaces, with randomized variants for organic ground
- walls — perimeter or run, with named gaps for the gate
- scatter — trees or clutter across an area, avoiding the building's footprint
- light / effect / mini — a torch or two, and any starting miniatures placed with a ring (hostile/ally/neutral)
Step four: import and verify
The finished recipe is loaded with File ▸ Import Scene JSON, and every referenced model downloads automatically — there's no separate step of adding assets to the library first. From there the usual verification applies: does the floor tile without gaps, do the walls meet at the corners, does the gate sit on an actual edge rather than floating in the middle of a wall run. Because the builder is grid-correct by construction, these checks are mostly confirming the layout reads well, not fixing broken geometry.
Iterating is changing numbers, not redrawing
Because the scene is described as operations rather than a picture, iterating on it after the first import is editing numbers — widen a rect, move a gap, add a scatter — rather than redrawing anything. A seed on the recipe keeps random placement (scatter, jitter) reproducible, so a second pass can hold the rest of the layout still while only rerolling what needs another look.
What a one-line prompt actually buys you
The point isn't skipping the composition work — a good scene still needs a believable layout, roads that arrive somewhere, walls that actually enclose a room. What the process removes is the tedious part: translating that layout into exact transforms for a few hundred pieces, matching every wall segment to its neighbor by hand, and making sure a floor doesn't have gaps at its edges. The prompt starts the process; the grid-correct builder is what makes the result playable on the first import instead of the fifth.